 |
 |
| 1.Quenching and Tempering-1 |
1.Quenching and Tempering-1 |
 |
 |
| 3.Quenching and Tempering-3 |
4.Quenching and Tempering-4 |
■ The purpose of girth gear heat treatment
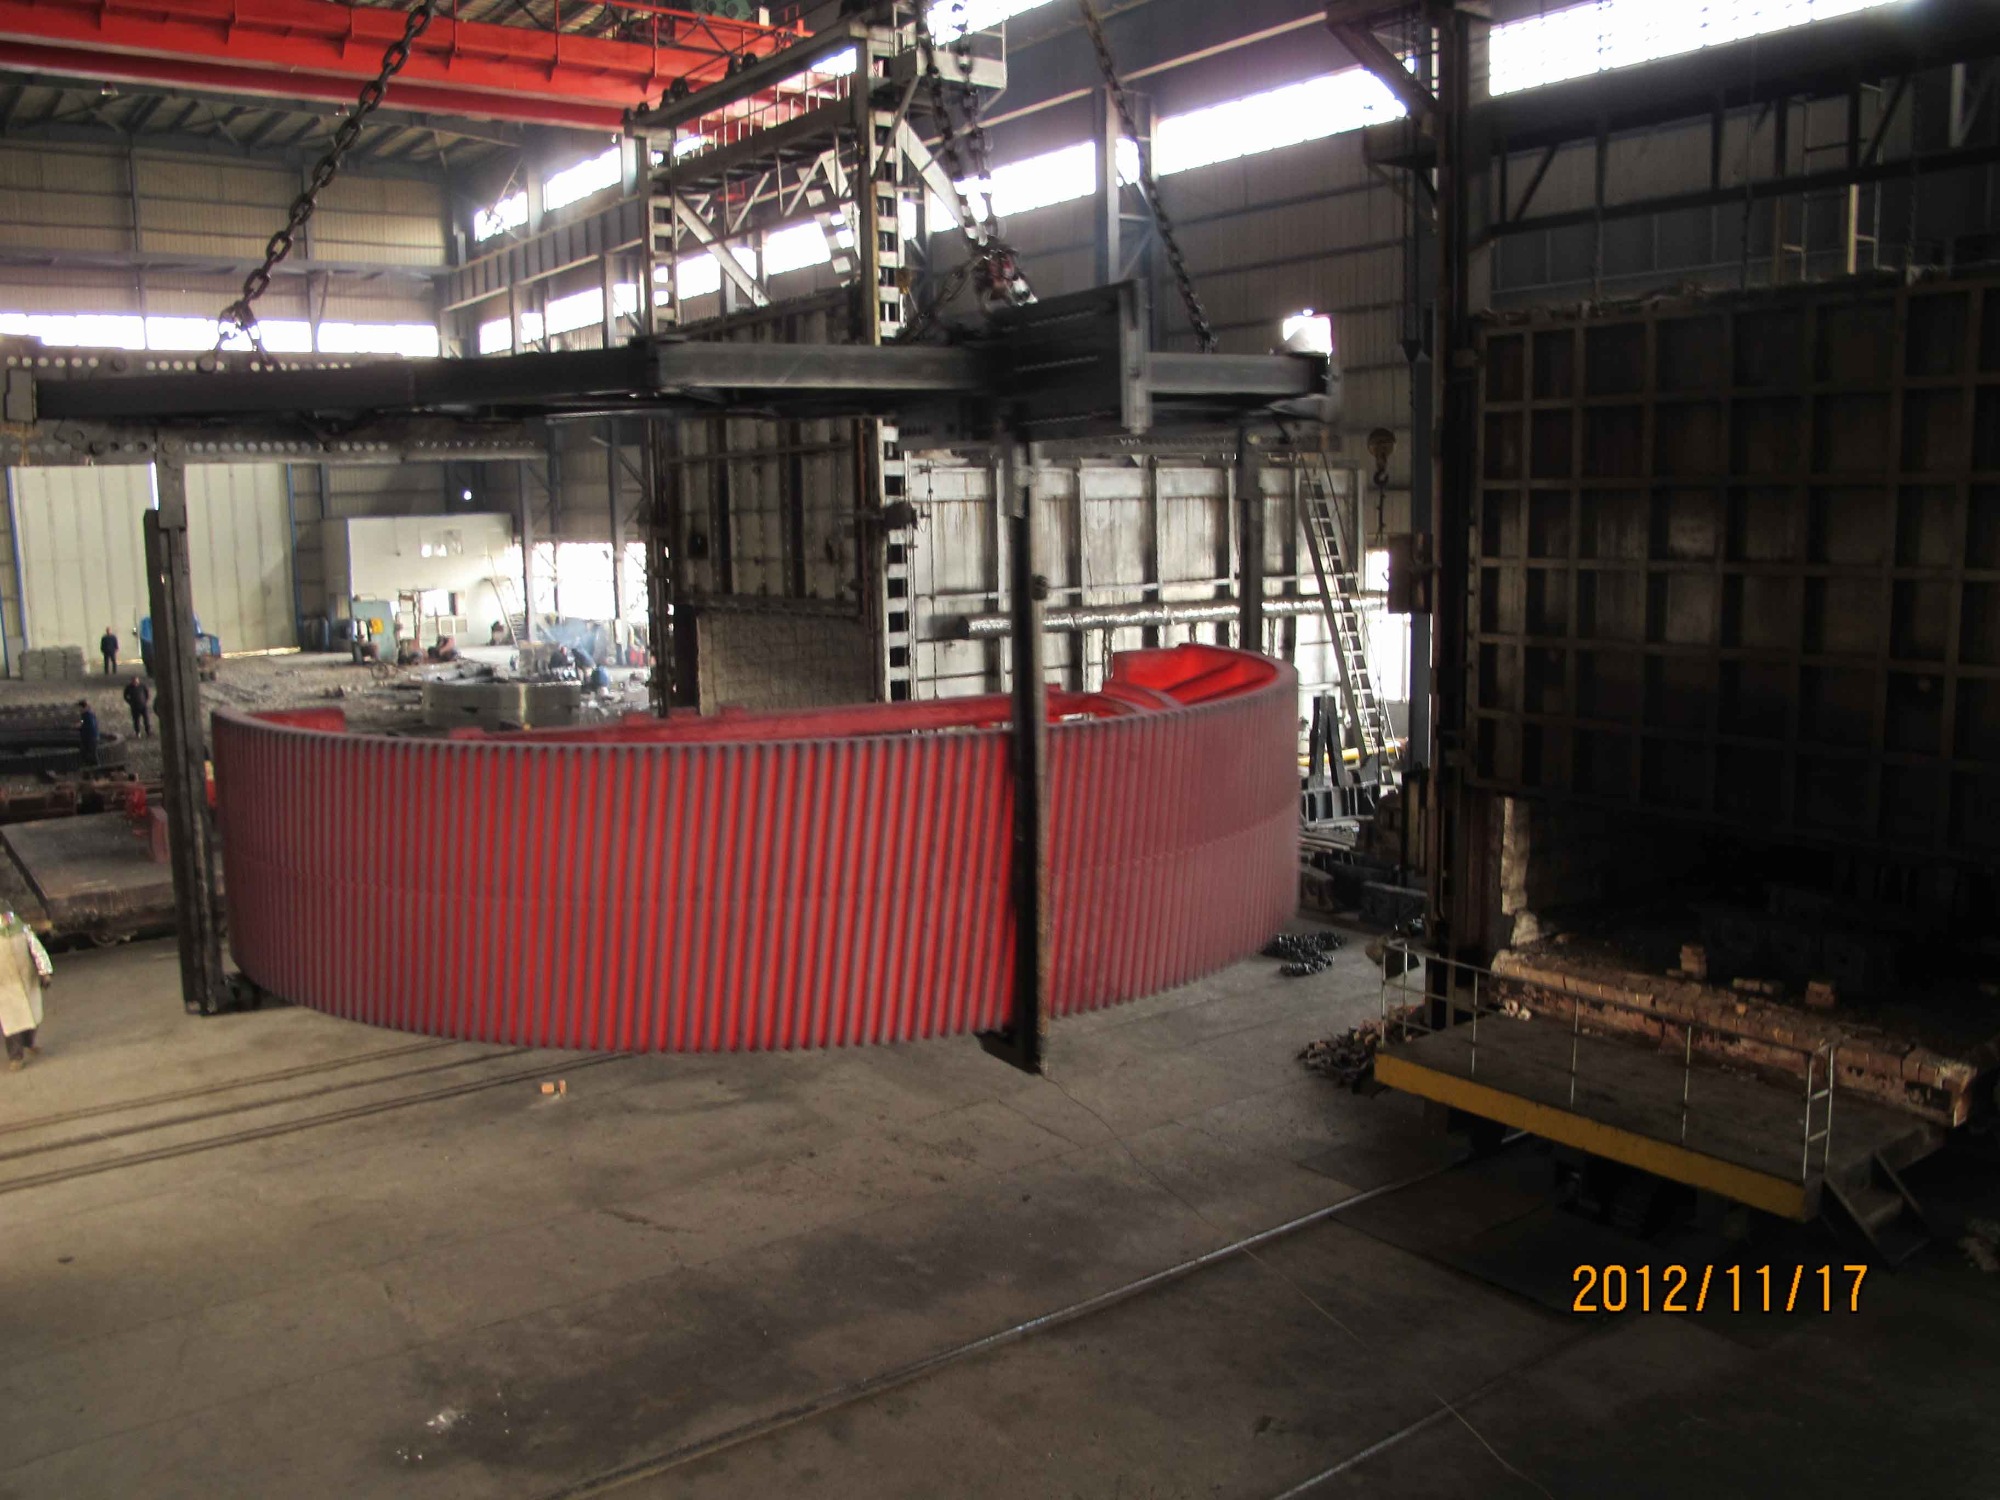
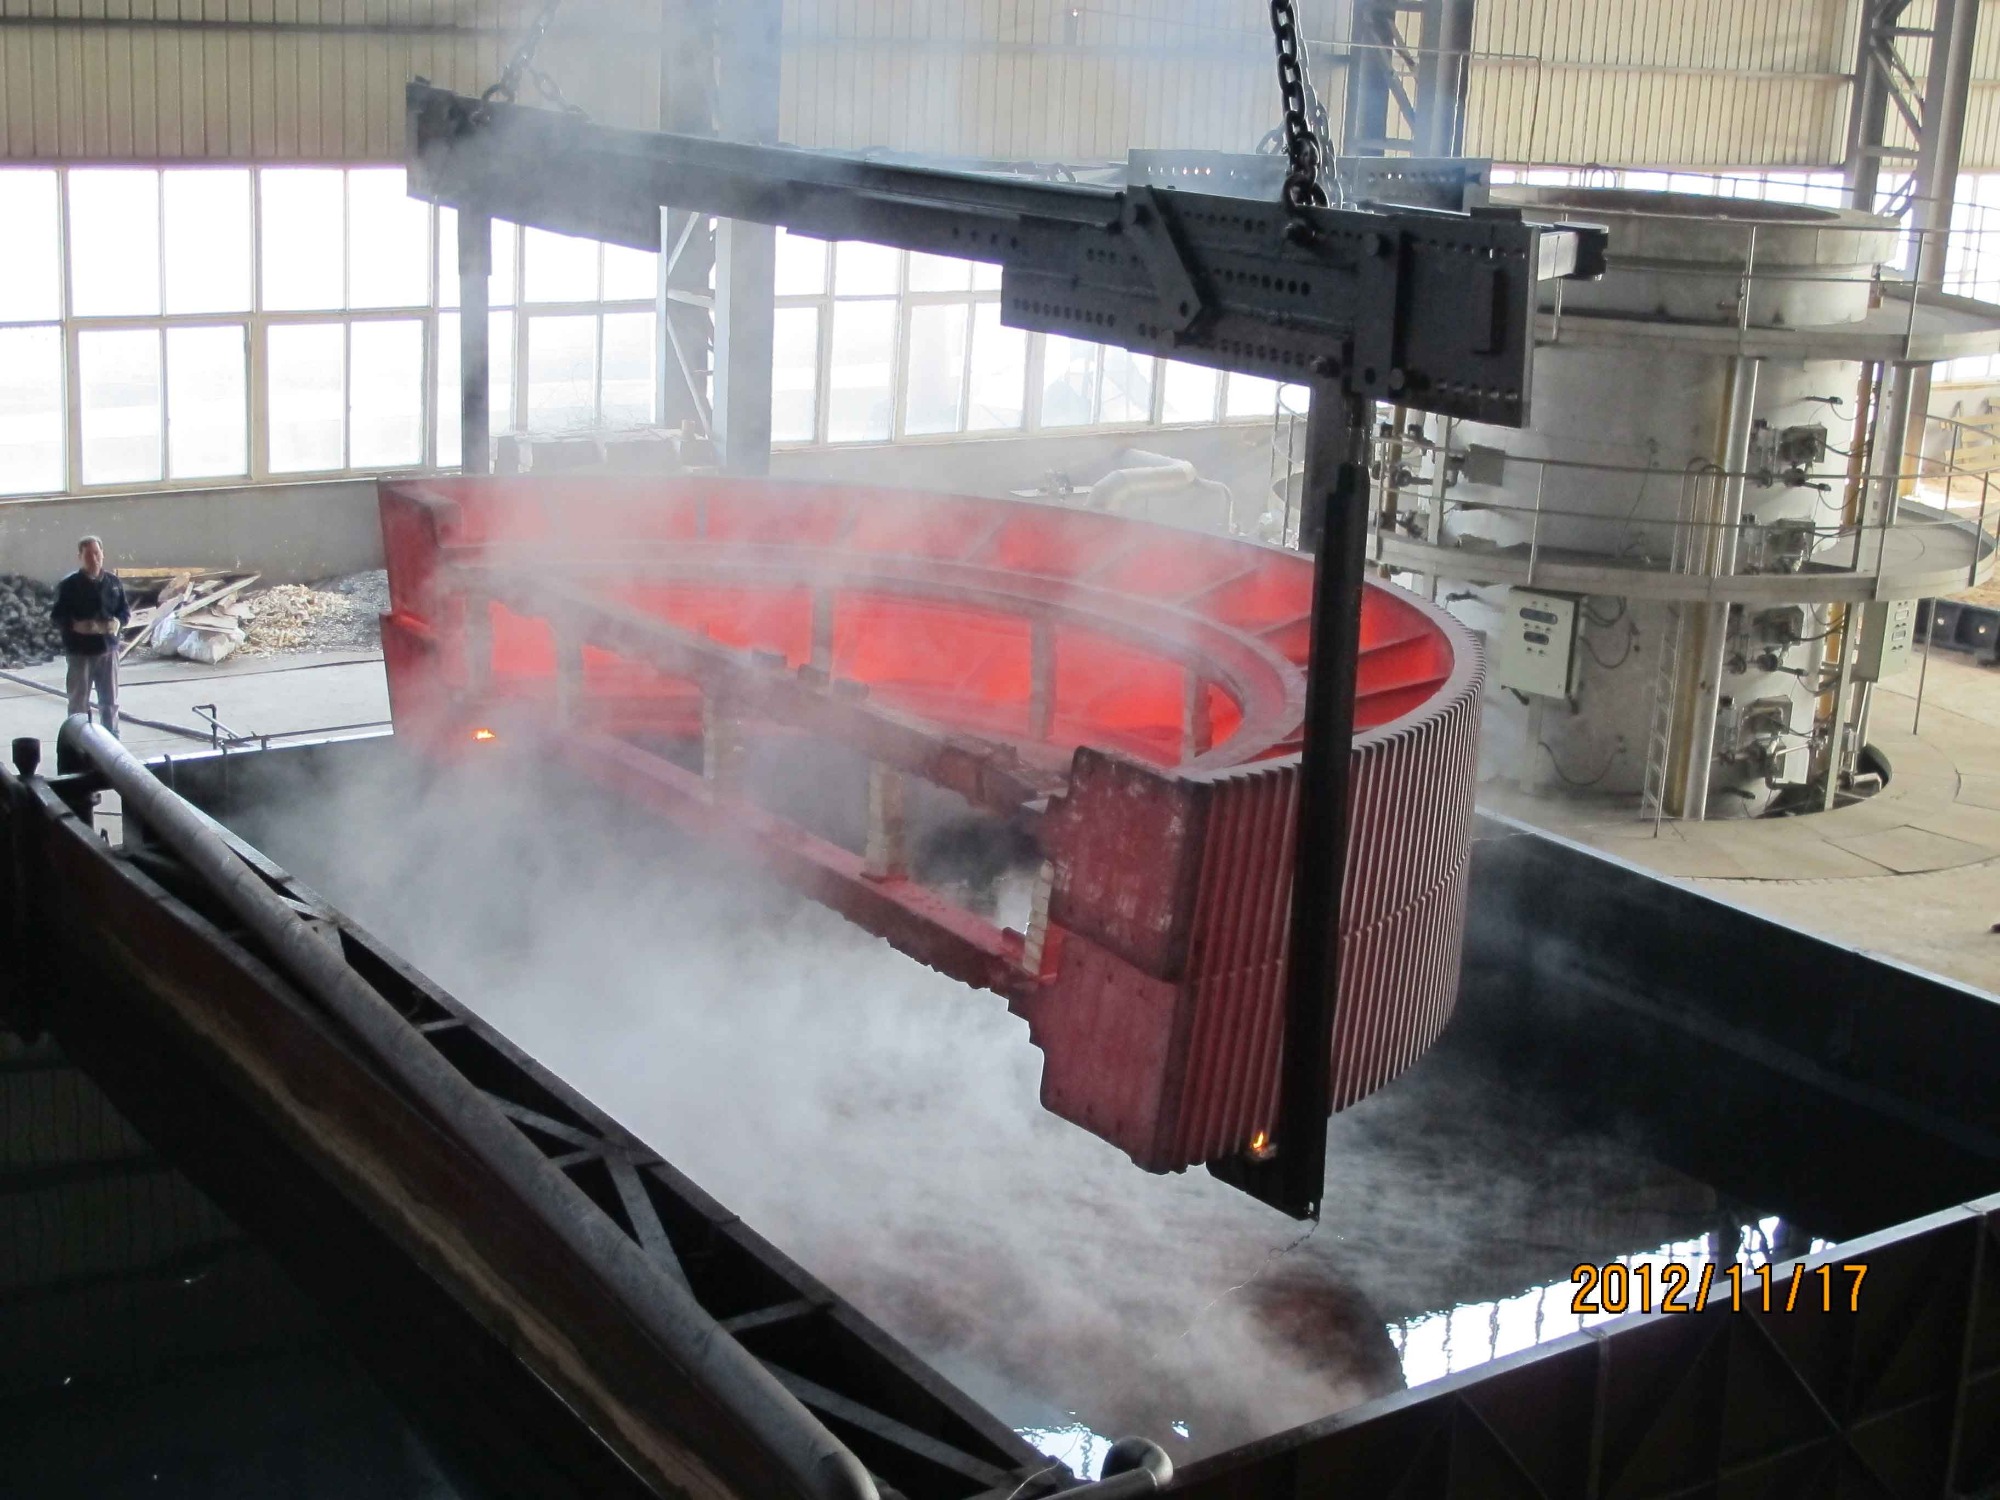
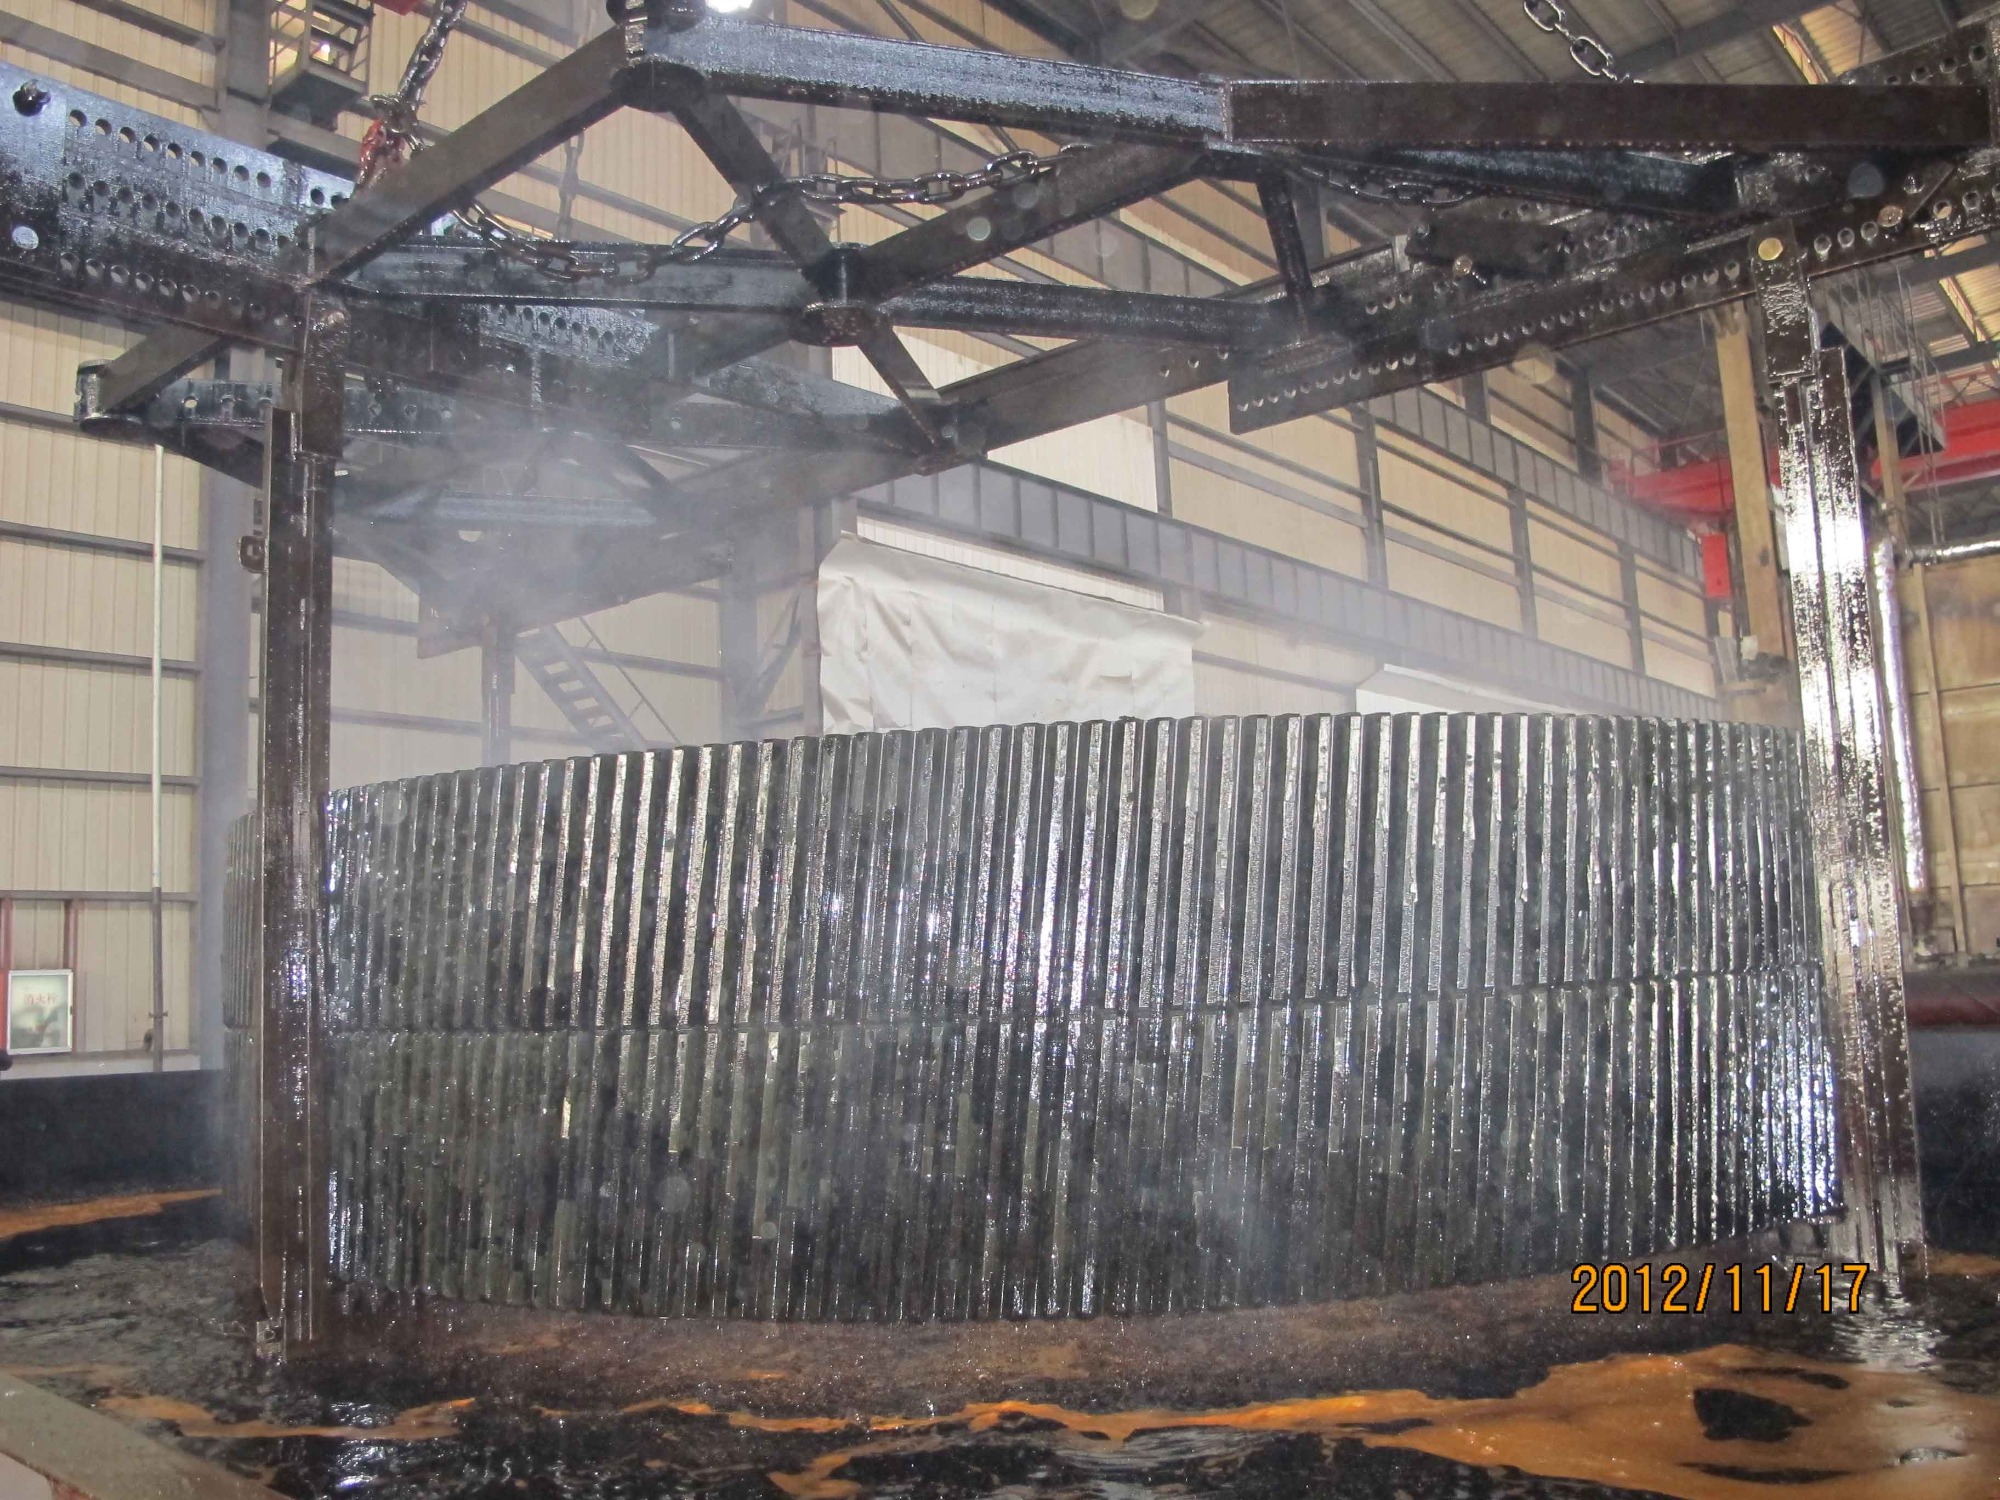
The heat treatment of the girth gear is an important part of the gear production process. The gear heat treatment include normalizing, quenching and tempering. The main purposes are as follows: releasing the casting stress and the machining stress inside the gear to maintain the stability of its external dimensions. Through normalizing or quenching and tempering treatment, eliminating the gear partial solidification defects, making microstructure uniform, improving the strength, hardness and impact toughness of the girth gear, and improving the wear resistance of the gear.
■ Principle of the girth gear heat treatment
◆ Determine the heat treatment process method and process parameters
According to the material, structure, weight, hardness, toughness and other requirements of the girth gear, the heat treatment process method is chose between normalizing or quenching and tempering and the process parameters are determined according to these factors.
◆ Determine the heat treatment equipment
Determine the heat treatment furnace, tooling, etc. required for heat treatment of girth gear. The heat treatment furnace must be stable heating and uniform temperature. Before heat treatment, the temperature accuracy of the heat treatment furnace must be checked. The temperature of each part of the heat treatment furnace must be uniform, and the heat treatment process should be digitally and accurately controlled and drawing the heat treatment process curve automatically.
◆ Determine heat treatment preparation
The size and weight of the girth gear are large, and the properties of each part during heat treatment need to be uniform. It is necessary to determine the position in the heat treatment furnace and the support method is also critical. Therefore, the girth gear must be supported to prevent from deforming due to gravity and avoid local over-burning in the heat treatment furnace.
■ Before and after inspection about heat treatment
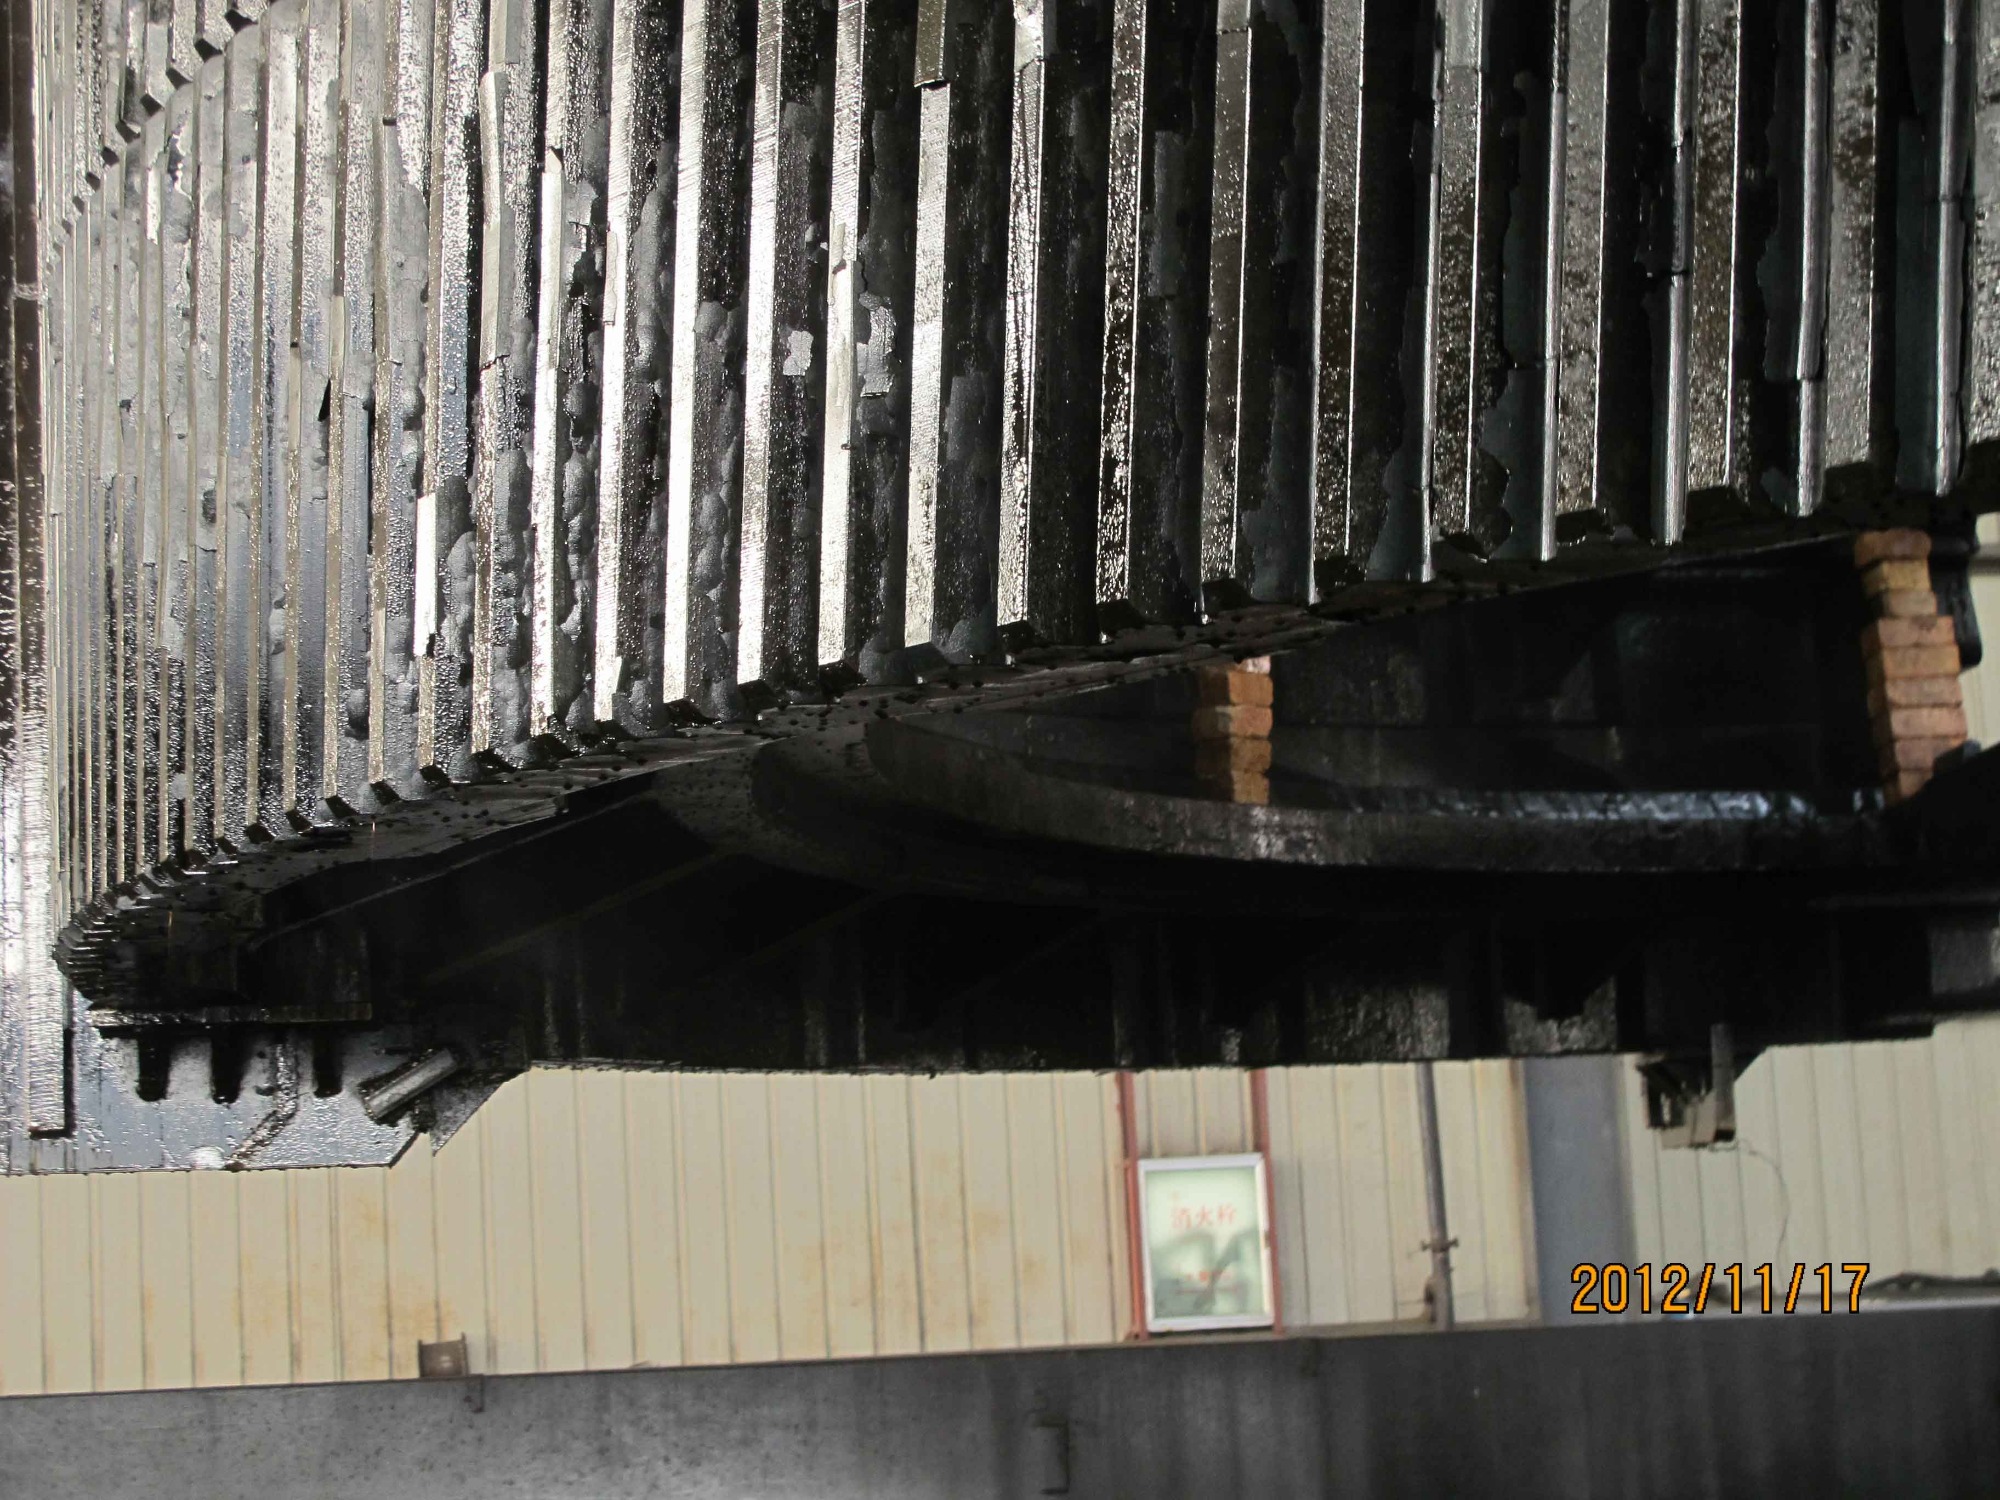
In order to control the deformation of the girth gear strictly during the heat treatment, the dimensional change before and after the heat treatment need to be detected. The girth gear is scribed before the heat treatment, including the upper, lower, and the detection points with the degree as the bus bar, so as to detect the deformation amount in each direction and find the law to improve the process.
■ Heat treatment record form
| Mill Girth Gear Heat Treatment |
Basic
information
|
Work number |
Drawing number
|
single heavy |
material |
casting number |
|
| |
|
|
|
|
|
|
| |
technology
Claim
|
Hardness:
250--290HB |
Inner and outer diameter of the drawing:
|
Rim wall thickness:
|
Tooth height:
|
| |
|
Bond thickness:
|
Performance requirements:
|
| |
|
Residue requirements |
| |
|
The thickness of the rim must be uniform, and the deviation after the ring gear is processed must not exceed -5% to +10% of the design size of the rim. The weld repair hardness should be lower than the hardness of the base metal, and the difference between the center zone and the base metal hardness is not more than 10%. Incoming materials to check the smelting ingredients. |
Heat
At
Rational
before
Check
Measurement
Remember
record
|
Outer circle size
|
A |
上On:( )Under:( ) |
B |
上On:( )Under:( ) |
| |
Rim thickness
|
0° |
30° |
60° |
90° |
120 |
150 |
180° |
| |
A |
|
|
|
|
|
|
|
| |
B |
|
|
|
|
|
|
|
| |
Visual inspection
|
|
Tooth height
|
A |
|
| |
|
|
|
B |
|

