
 |
 |
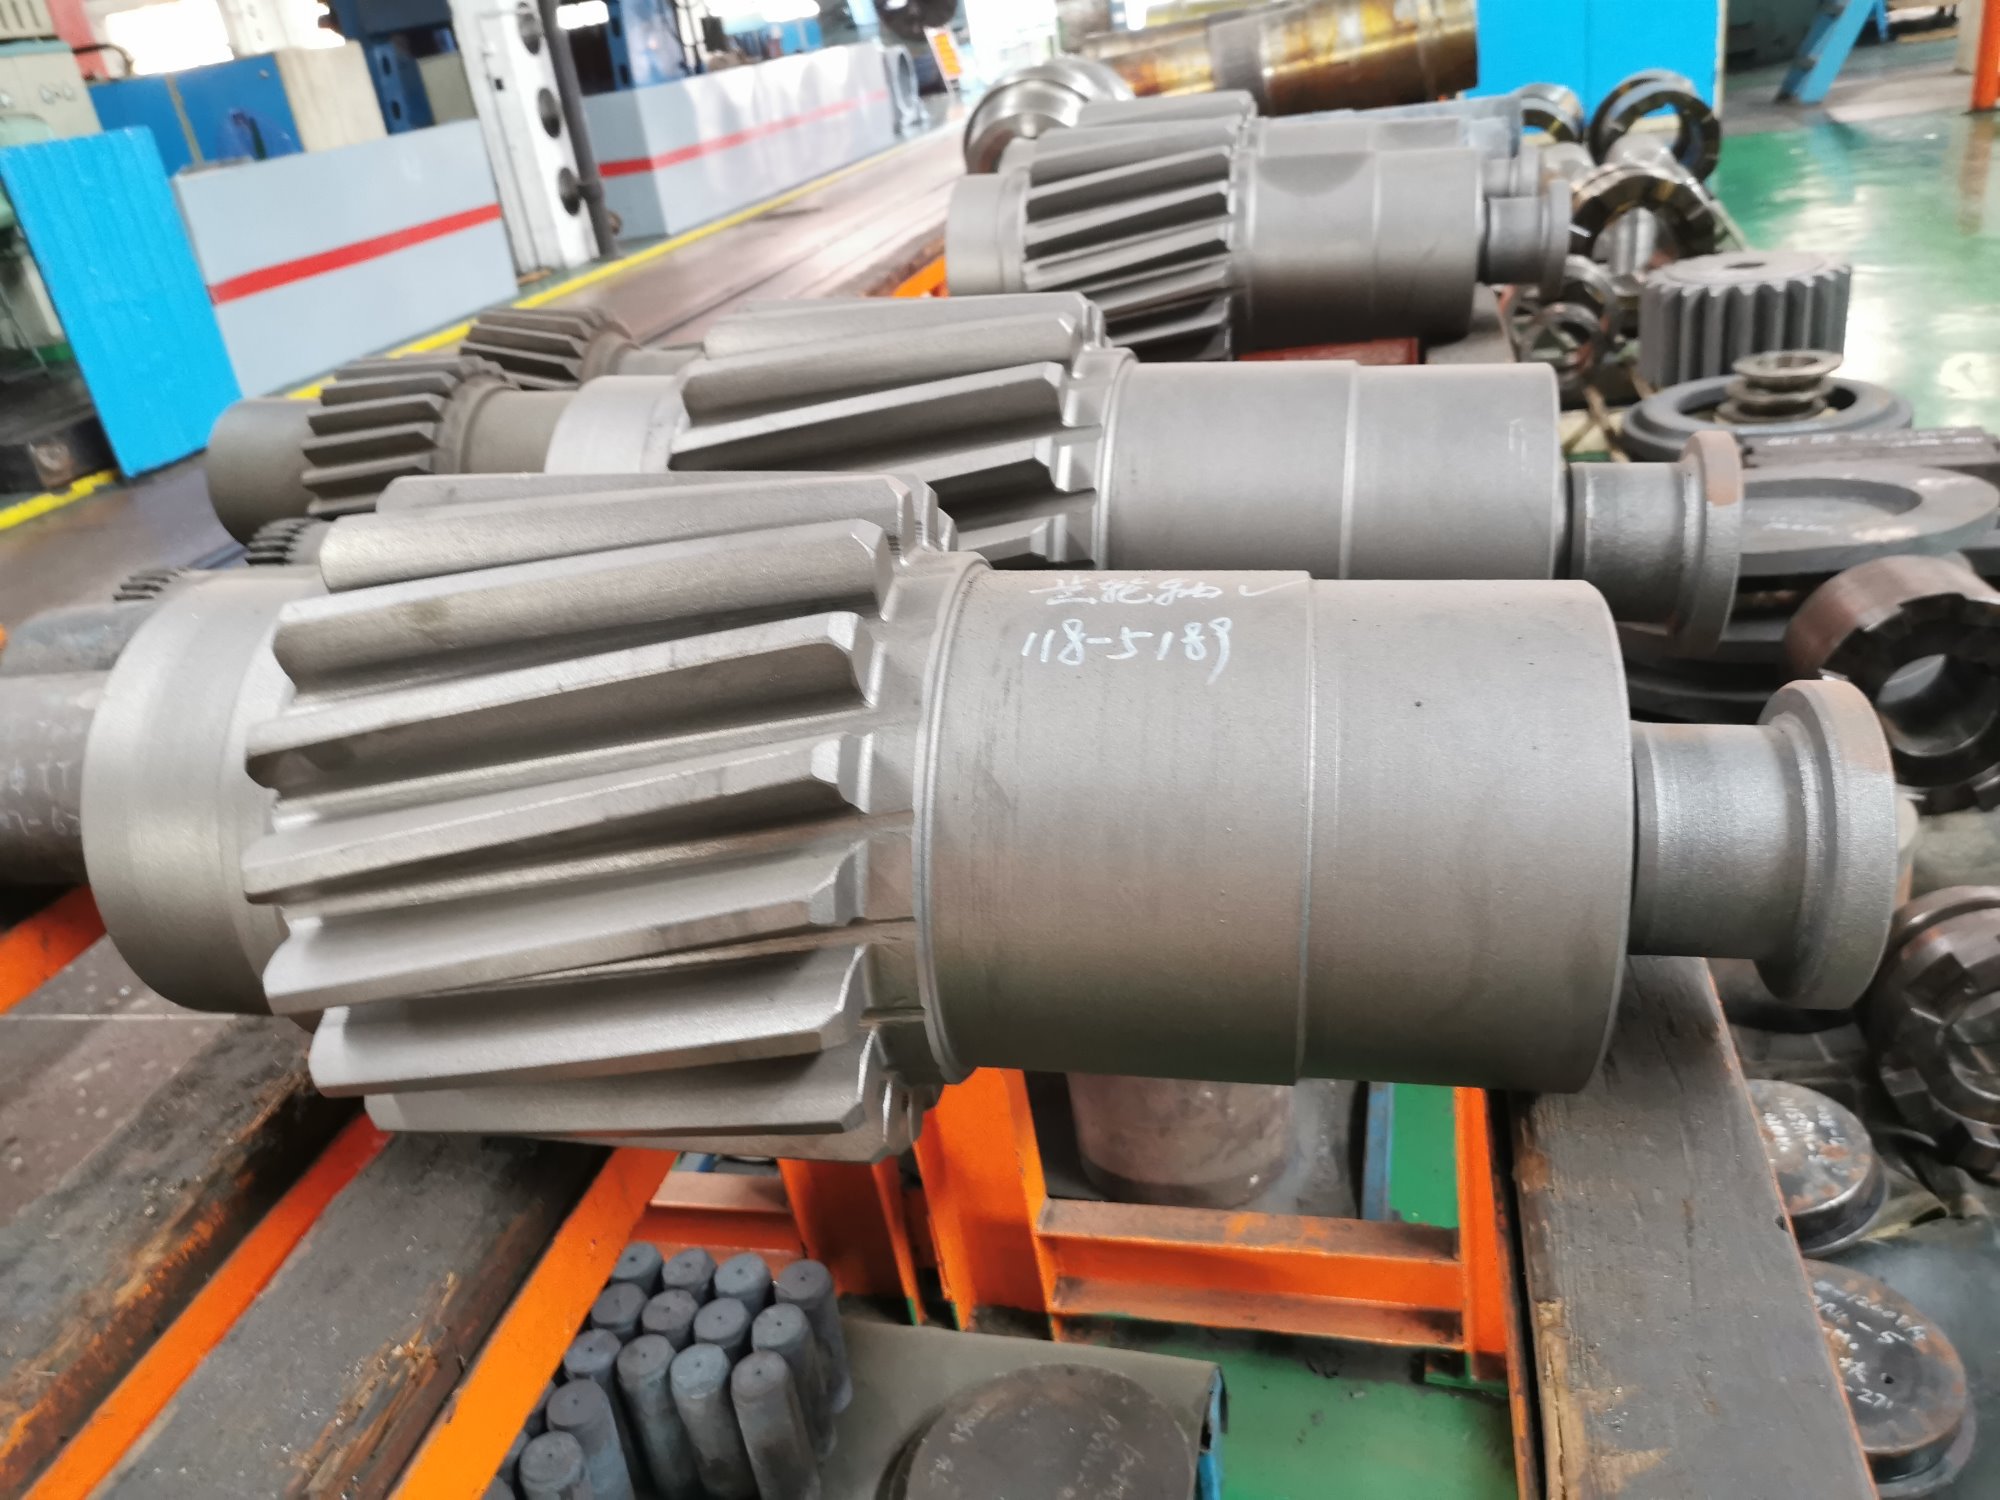 |
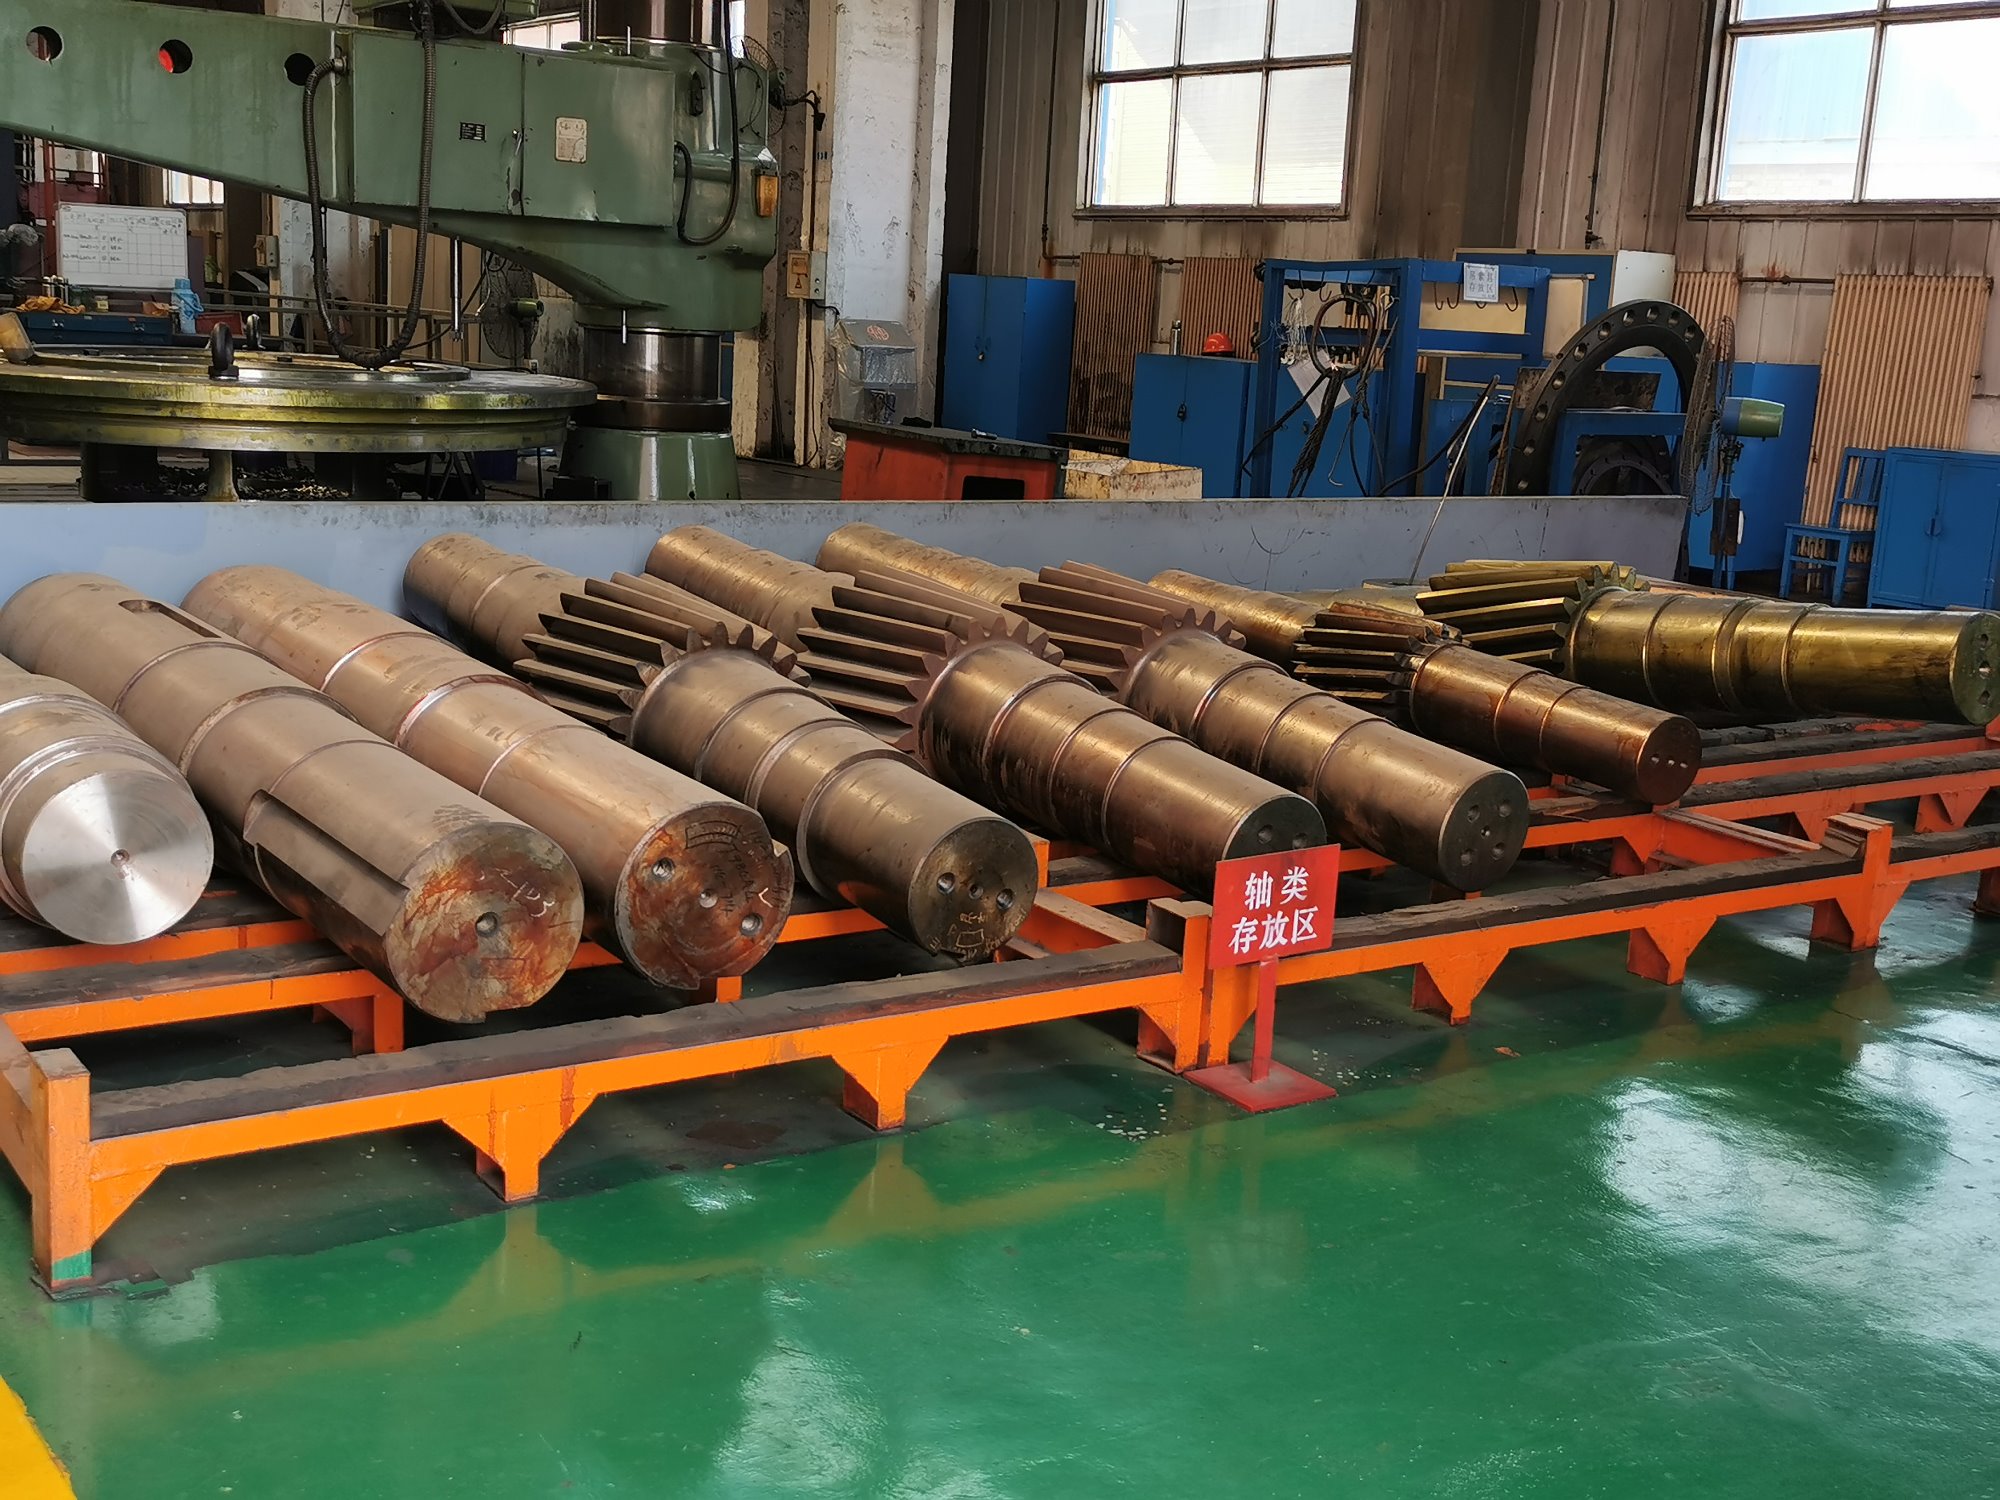
| 1.Pinion shafts and shafts |
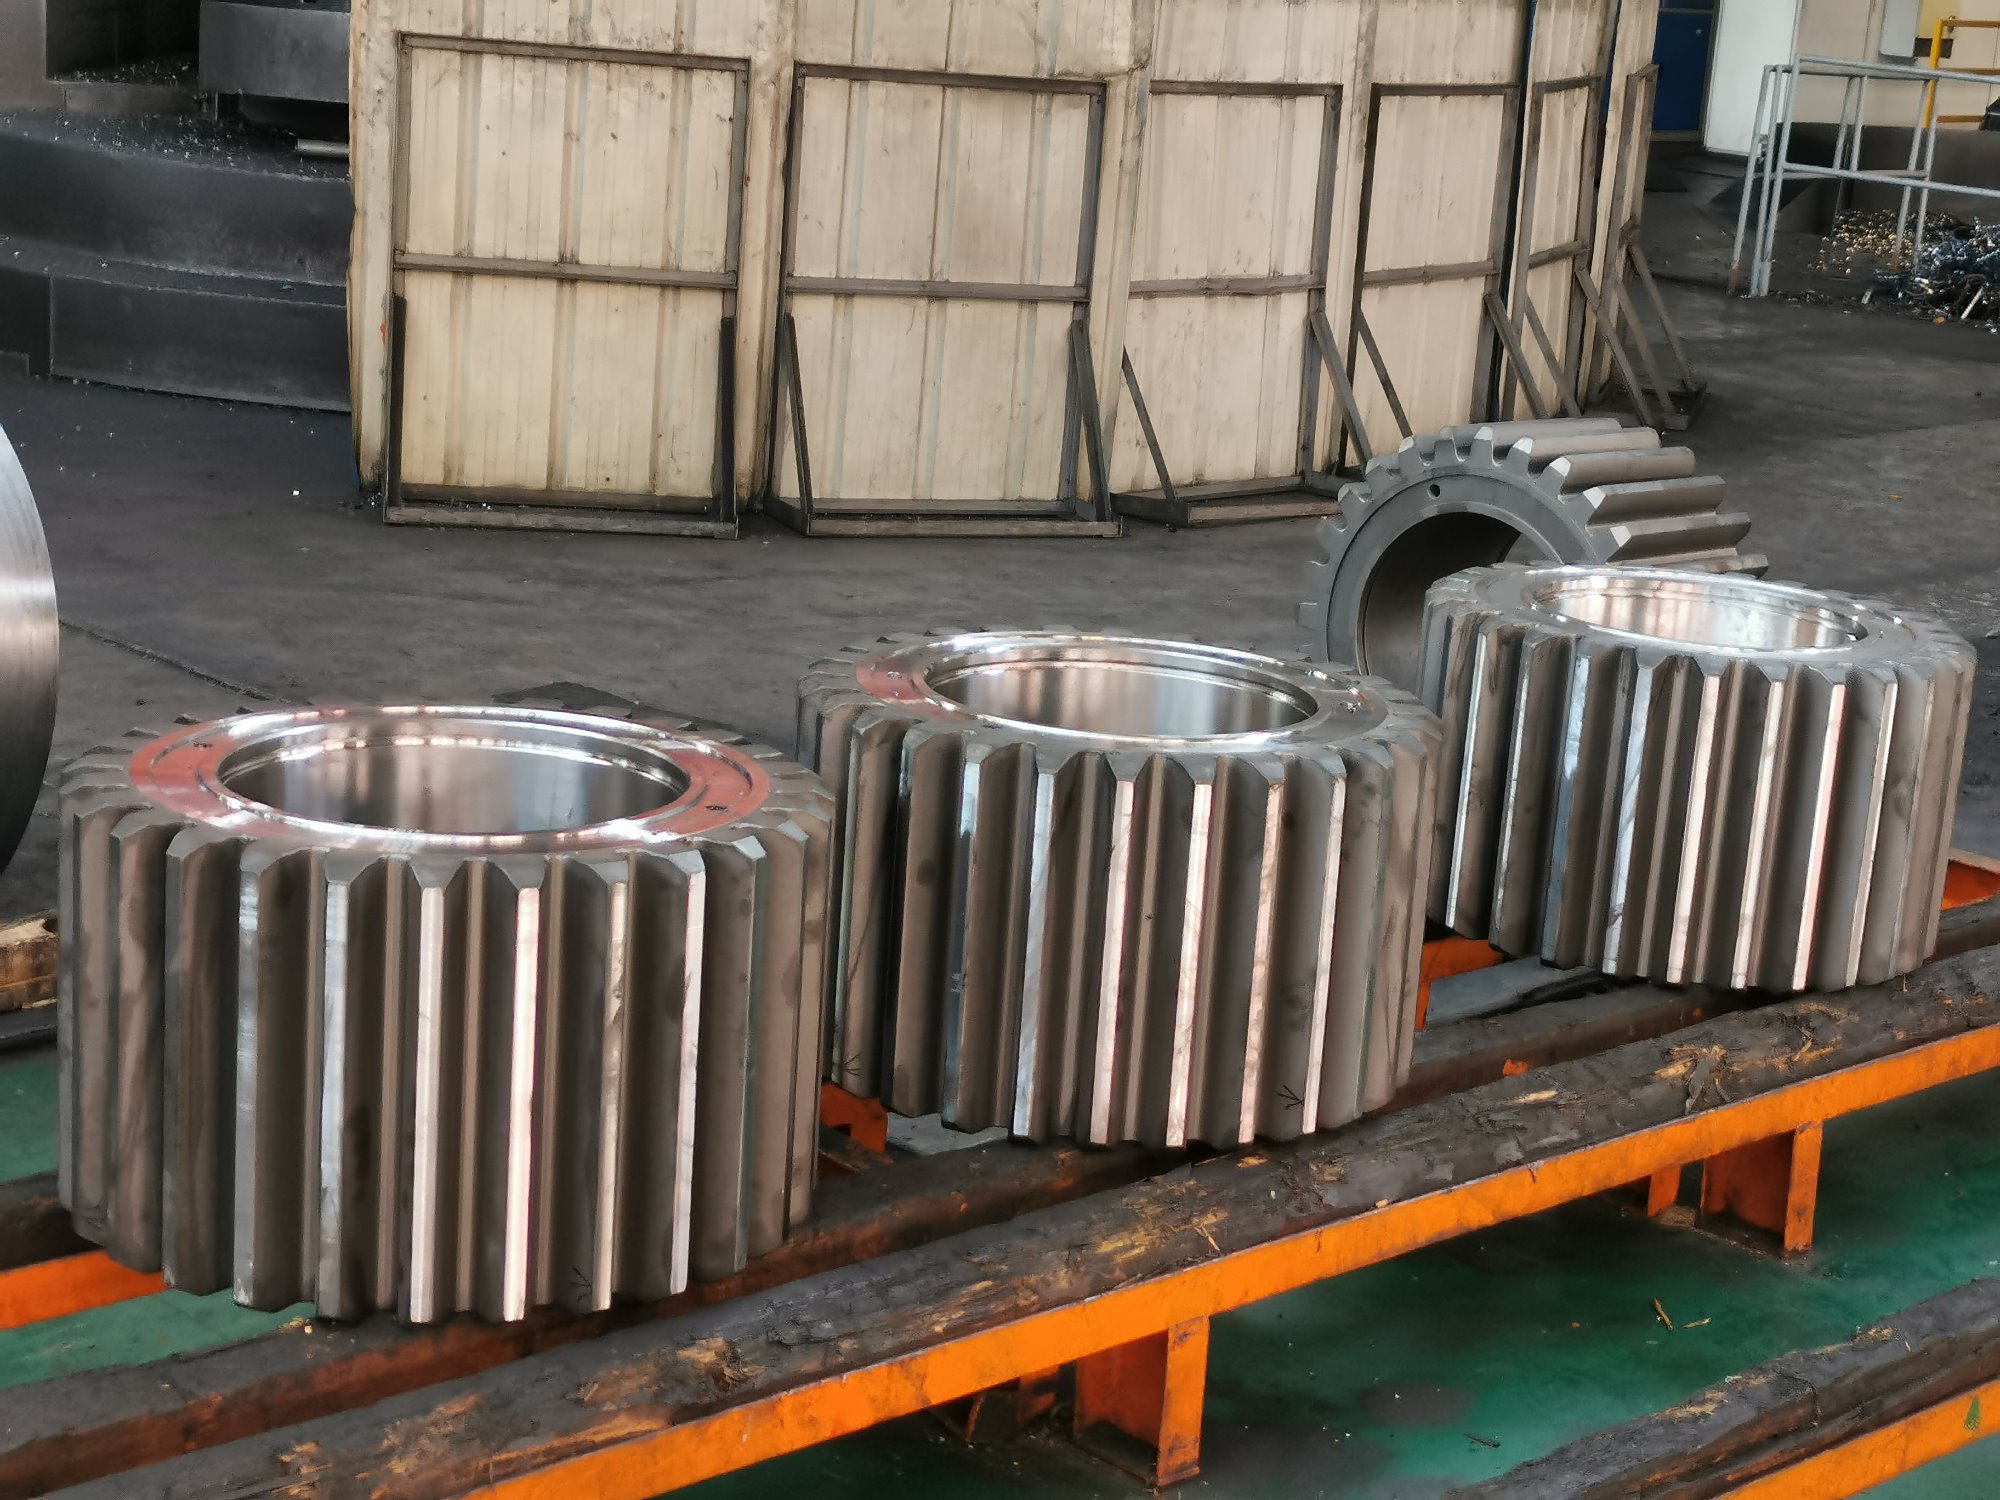
2.Pinion |
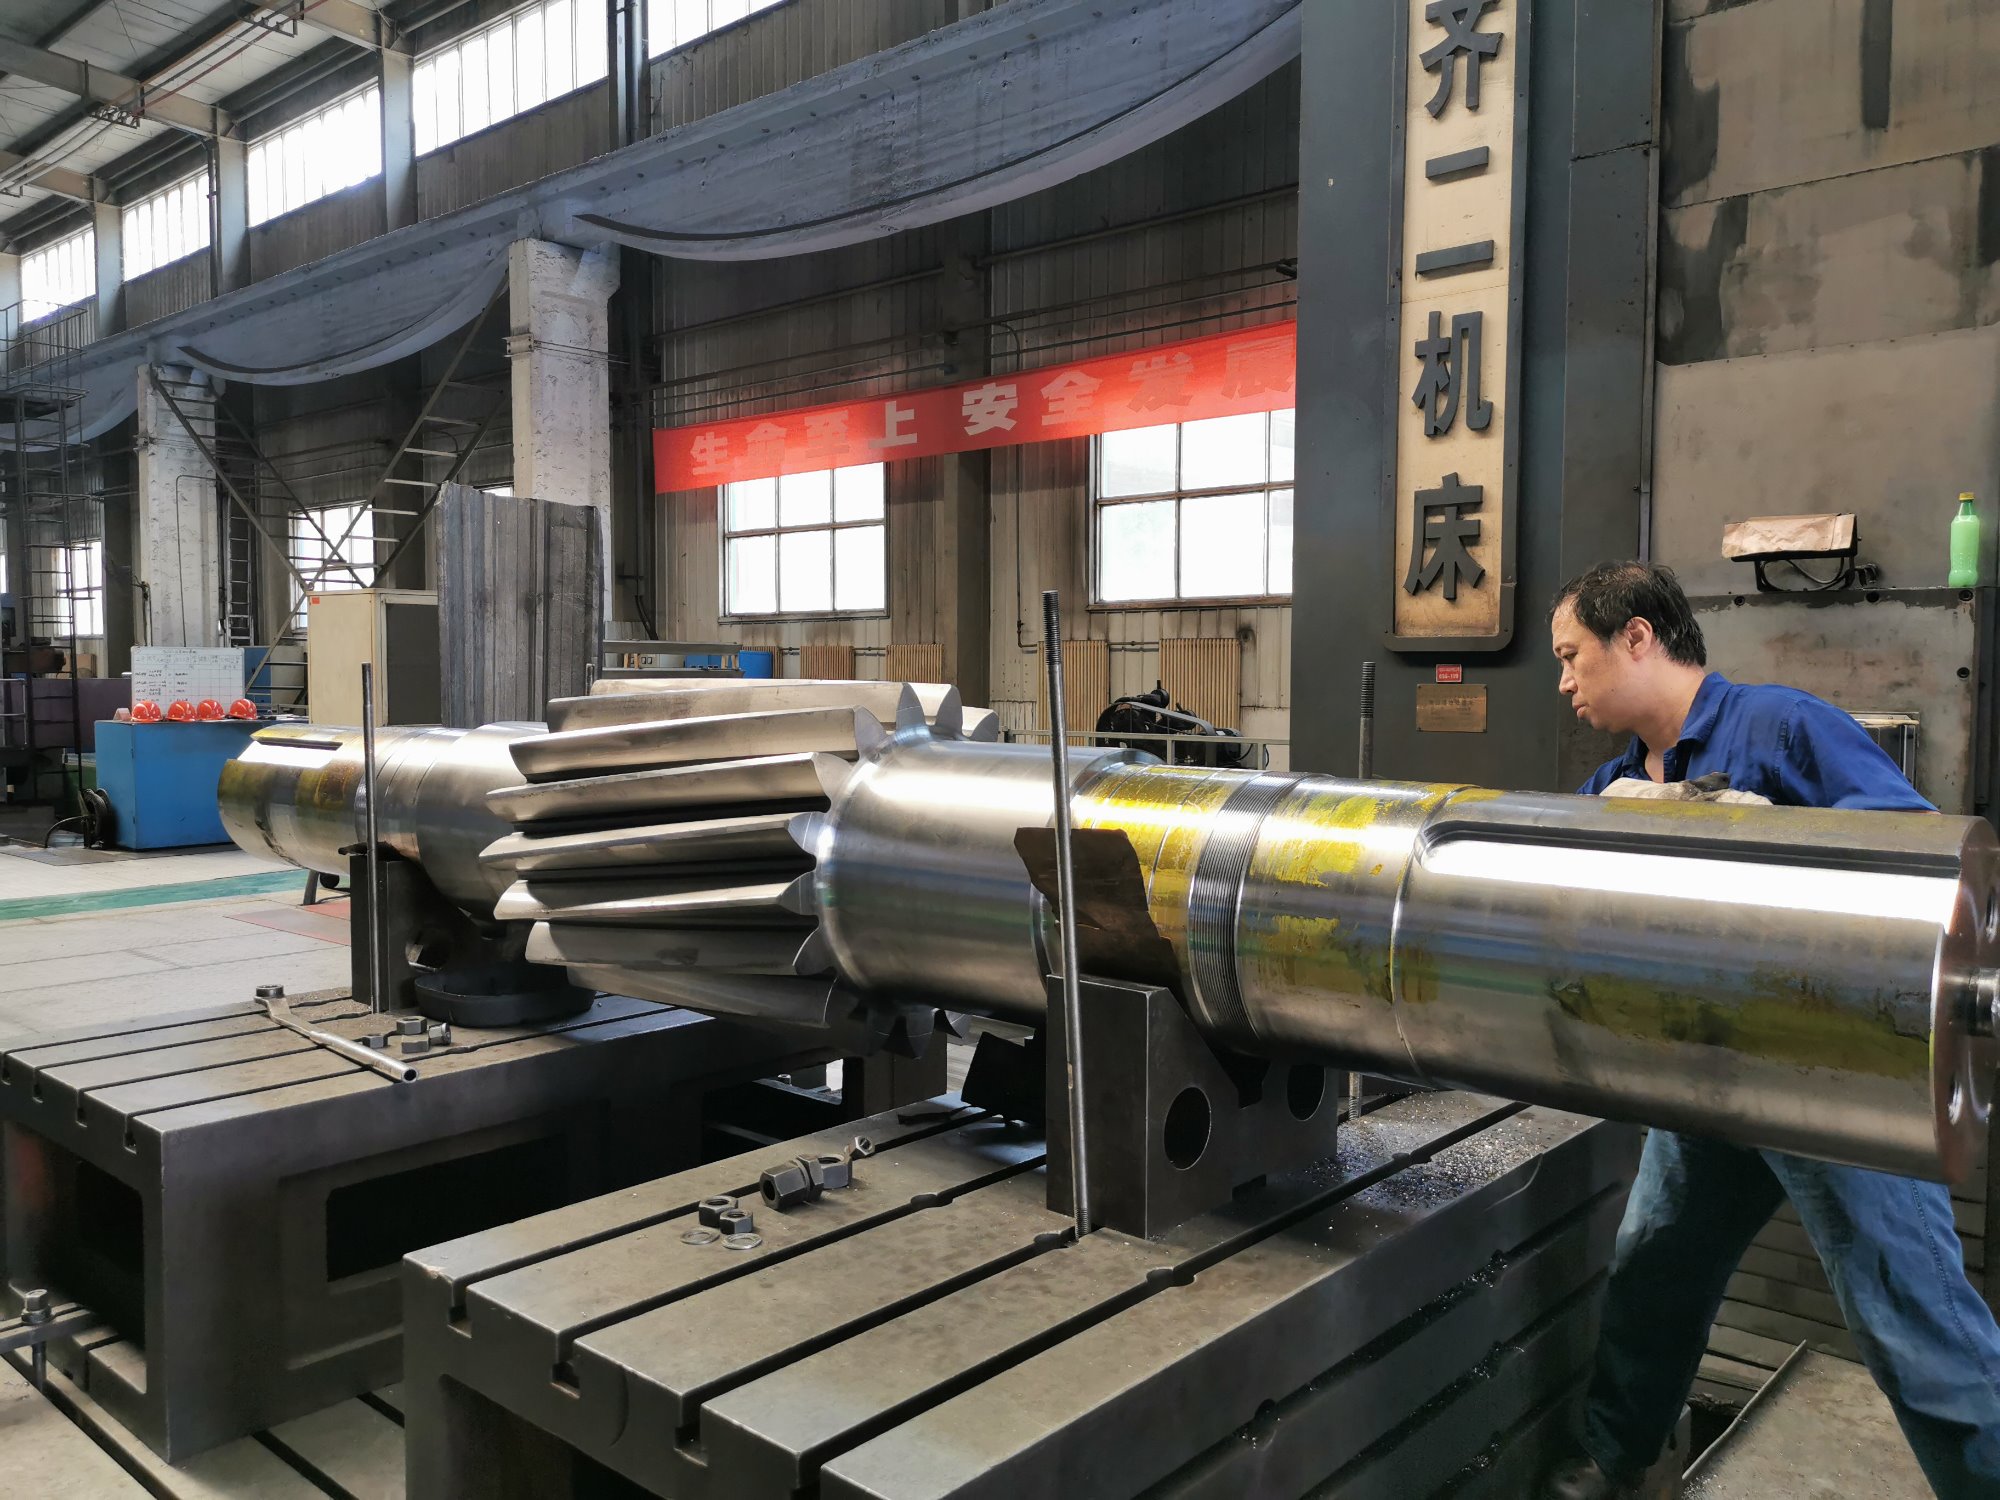
3.Pinion Shaft of Metallurgical Equipment |
 |
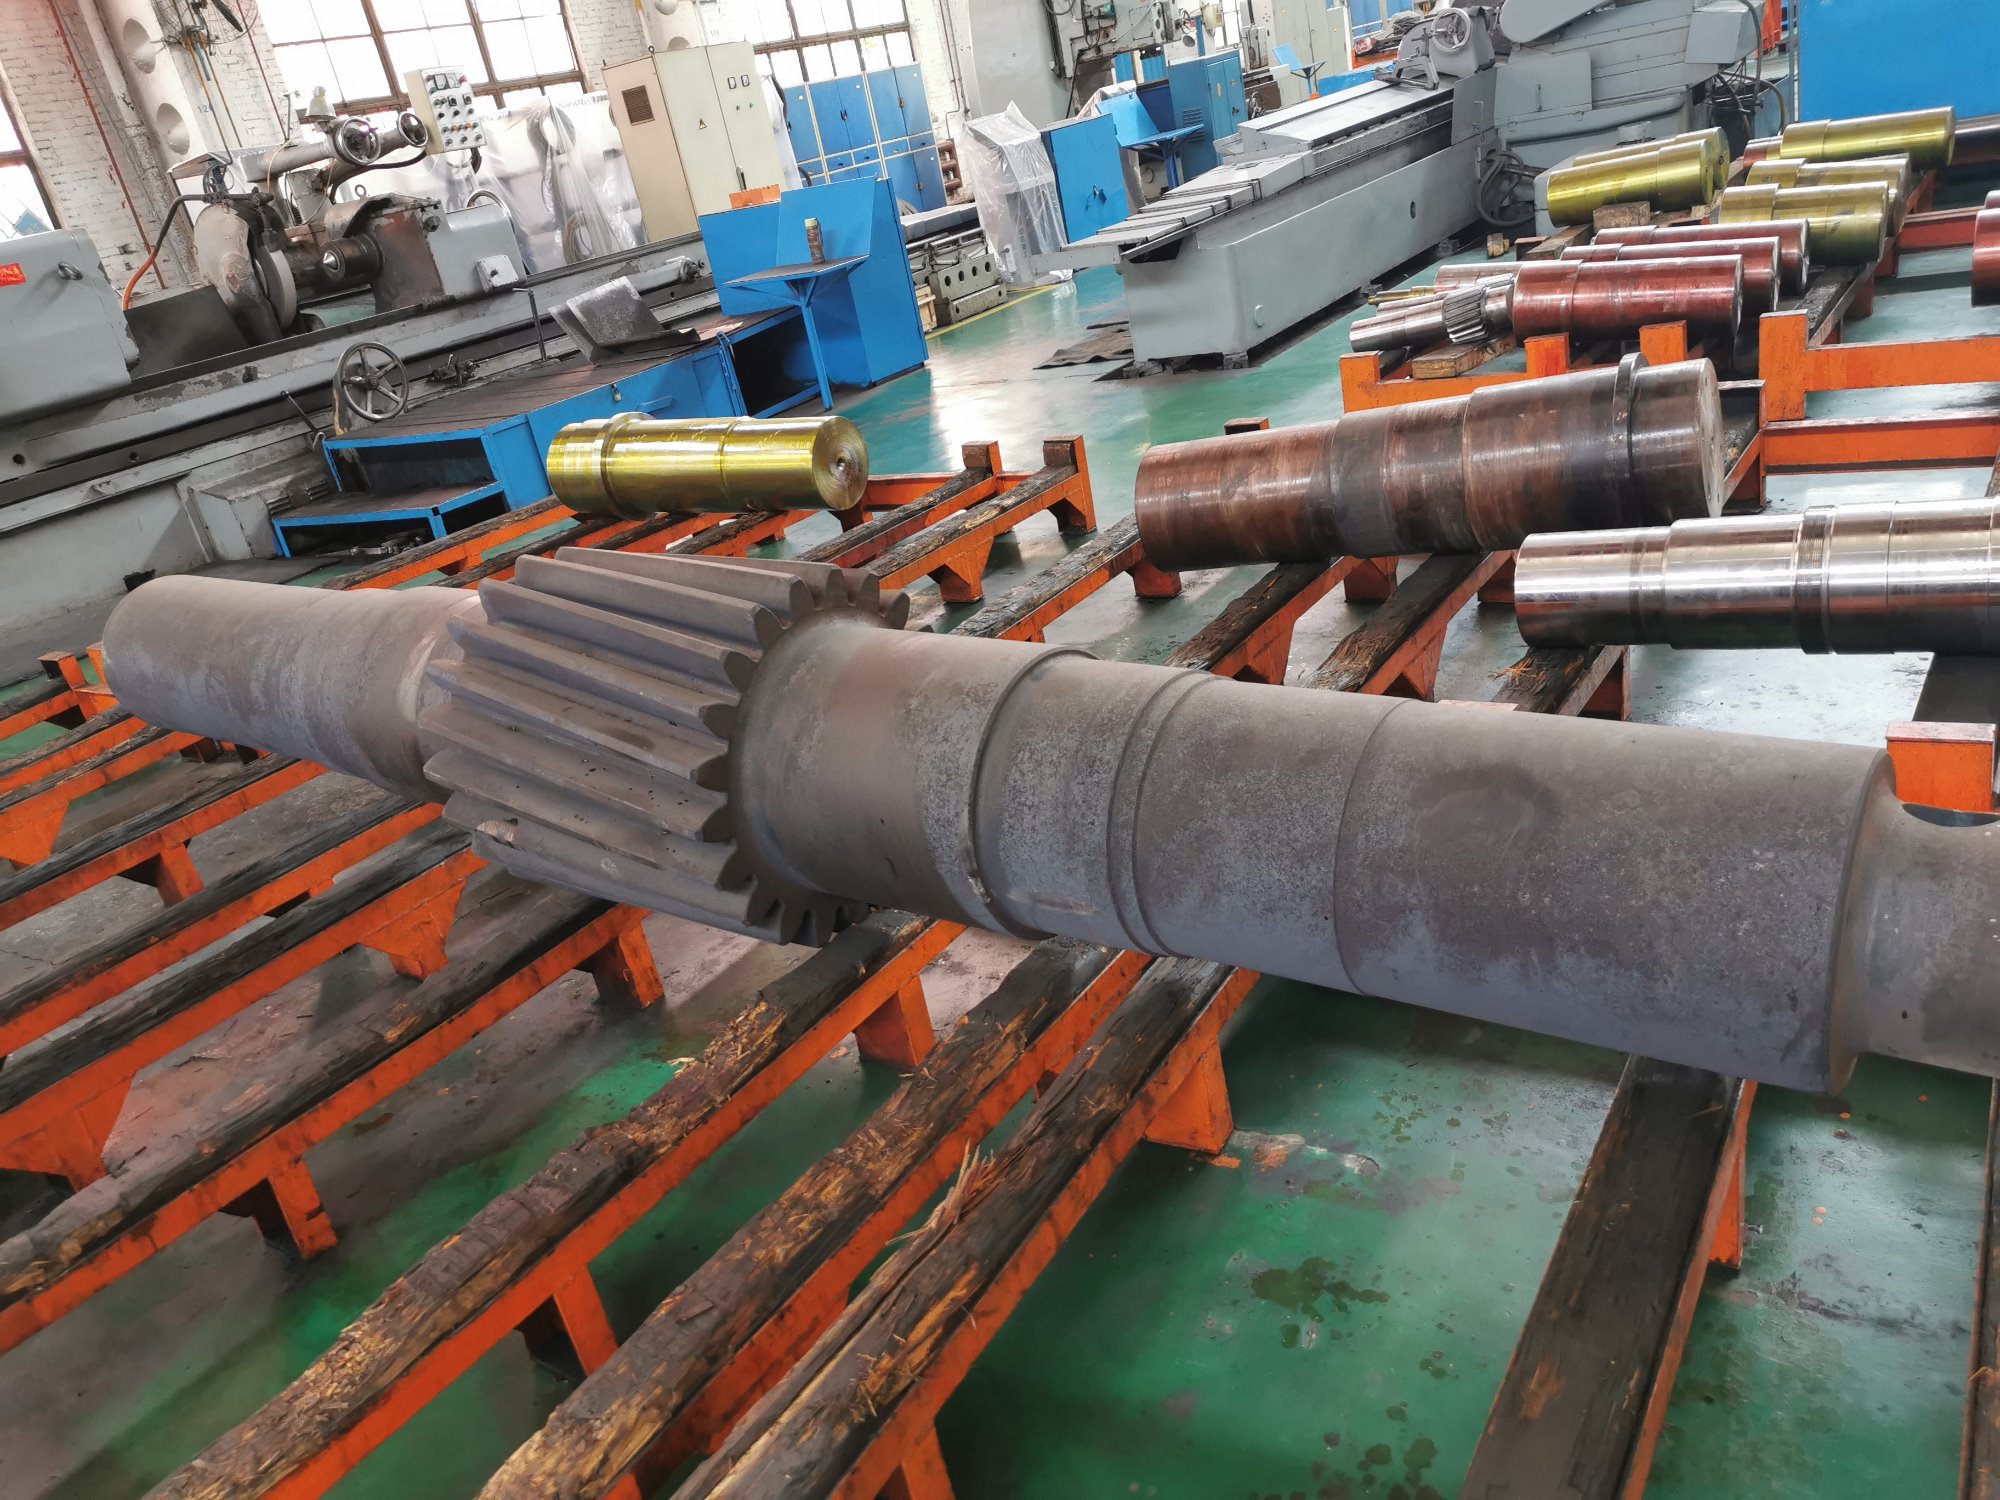 |
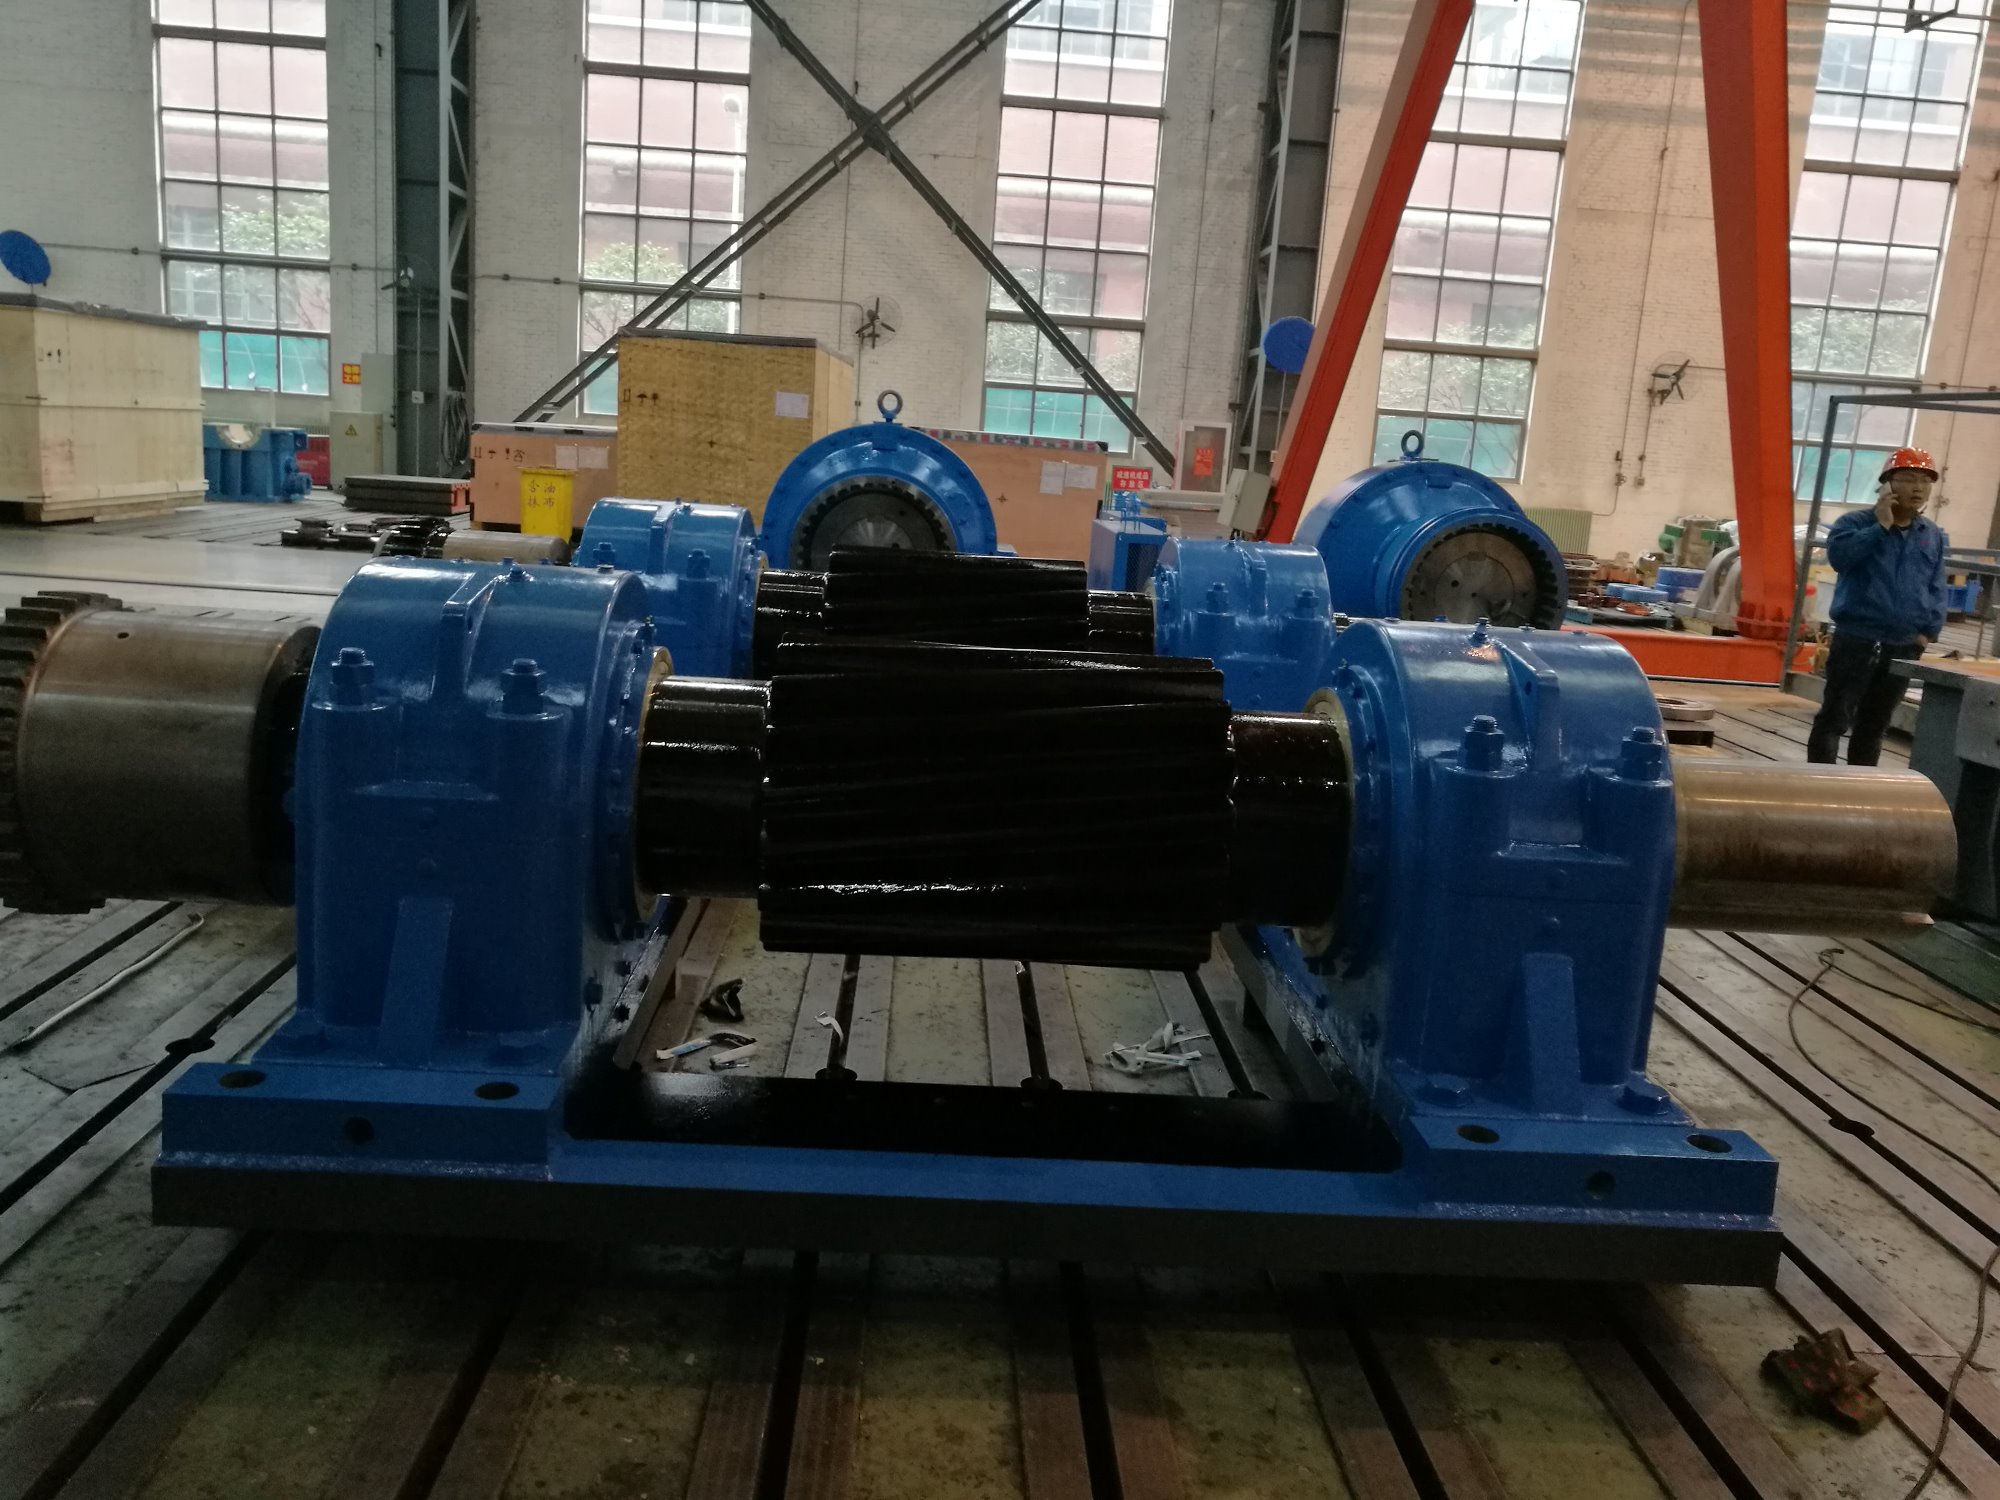 |
| 4.Φ10.37×5.49mSAG Mill Finishing of Pinion Shaft | 5.Φ6.7×11.5m Ball Mill Pinion Shaft | 6.Φ5.5×6.5m Ball Mill Pinion Shafting |
| Chemical element | Material Brand | ||
| 17CrNiMo6 | 20CrNi2MoA | 30Cr2Ni2Mo | |
| C | 0.15-0.20% | 0.17-0.23% | 0.26-0.34 |
| Mn | 0.40-0.60% | 0.40-0.70% | 0.30-0.60 |
| Si | ≤0.4% | 0.17-0.37% | 0.17-0.37 |
| S | ≤0.035% | ≤0.030% | ≤0.035% |
| P | ≤0.035% | ≤0.030% | ≤0.035% |
| Ni | 1.40-1.70% | 1.60-2.00% | 1.80-2.20% |
| Cr | 1.50-1.80% | 0.40-0.65% | 1.80-2.20% |
| Mo | 0.25-0.35% | 0.15-0.30% | 0.30-0.50% |
| NO | Item | Size |
| 1 | Center Distance (mm) | |
| 2 | Standard Pressure Angle (º) | |
| 3 | Helical Angle(º) | |
| 4 | Standard Modulus (mm) | |
| 5 | Coefficient of Tooth Height | |
| 6 | Tooth Number | |
| 7 | Pitch Diameter (mm) | |
| 8 | Full Tooth Depth (mm) | |
| 9 | Top CCircle Diameter (mm) | |
| 10 | Chord Tooth Thickness (mm) | |
| 11 | Chord Tooth Height (mm) | |
| 12 | Spiral Direction | |
| 13 | Accuracy Level | |
| 14 | Radial Runout Tolerance (mm) | |
| 15 | Tooth profile tolerance | |
| 16 | Tooth tolerance (mm) | |
| 17 | Tooth pitch limit deviation (mm) | |
| 18 | Tooth pitch limit deviation (mm) | |
| 19 | Common Normal Crossing Tooth Number | |
| 20 | Common Normal Length (mm) | |
| 21 | Tooth width (mm) | |
| 22 | Weight (Kg) | |
| 23 | Radial Runout of Tooth Top Circle (mm) | |
| 24 | Flange end runout (mm) | |
| 25 | Installation Flange End Surface Runout (mm) |
| Modification gear | Non-modified gear |
| Depending on the profile and modification degree of tooth orientation | 50% tooth height contact, 80% tooth length contact |